Setting Up Your Work Area: Equipment You Need for Lost Wax
If you’re dreaming of making jewellery from home but only have a small space - a share house, studio apartment, or even just a corner of your bedroom - you don’t need a full studio to get started.
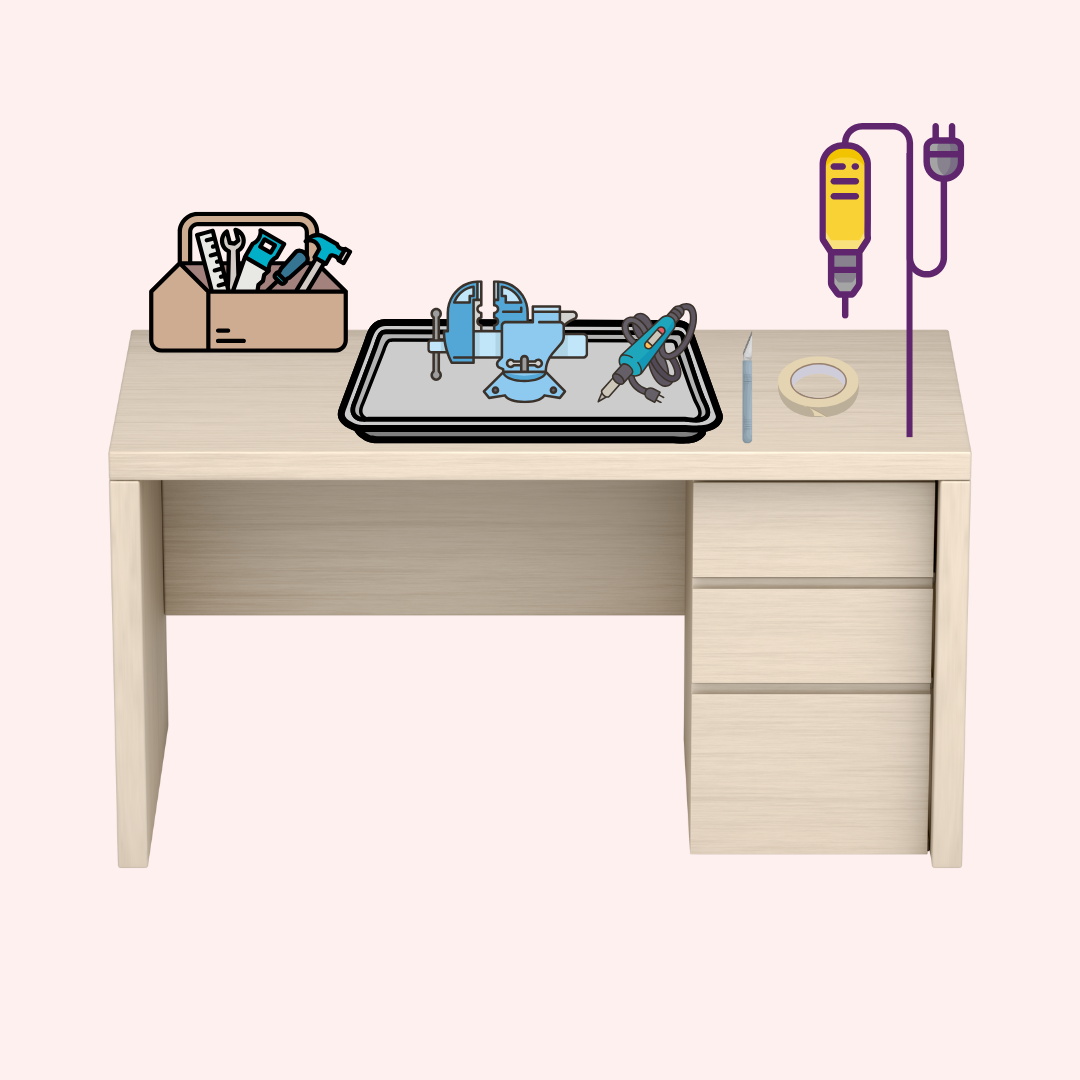
My entire lost wax jewellery setup fits on a desk. No fancy workshop needed. With just a few beginner tools, you can start making rings and sculpting wax designs at home, even with limited space. This guide is here to show you how easy and accessible it can be.
🪑 Work Area Set Up:
-
A small desk
-
Comfortable chair (ergonomic)
-
Baking tray (mine is 40cm x 28cm x 2cm or 15.75" x 11" x 0.8")
-
Pen holder or jar for tools
-
Small shelf or organiser to store other tools like buffs, sandpaper, etc.

😷 Safety Set Up (Optional, but recommended):
-
Fume extractor (mine fits in the corner of my desk and works really well)
- Fire extinguisher
-
Fire blanket
-
Apron
🔧 Tools Set Up:
-
Soldering iron - Aus & NZ
-
Soldering iron - USA
-
A few basic files and polishing tools
-
Note: This is a general guide for setting up a wax carving workspace using products listed on the U.S. Amazon site. If you're outside the U.S., make sure to double-check that you're purchasing the correct version for your country — especially when it comes to electrical tools, as you may need a specific voltage, plug type, or power adapter. If you're in Australia, Bunnings has plenty of great beginner-friendly options too — including files, vices, Dremel's and more, so it’s worth checking out what you can grab locally.


Leave a comment
This site is protected by hCaptcha and the hCaptcha Privacy Policy and Terms of Service apply.