Lost Wax Build-Up Method: My Personal Wax Sculpting Process
The wax build up method, sometimes called 'wax carving', is one of the oldest jewellery making techniques and it is my favourite way to make jewellery at home.
When I first started, I was searching for a way to make organic, molten, one of a kind rings from home. I tried electroforming, but it didn’t allow me to use high-quality metals like sterling silver or gold. I also tried silversmithing, but that required a studio membership and time I didn’t have. Finally I discovered lost wax casting. It gave me the freedom to make designs at home and outsource the actual metal pouring.
Here is my very simple step by step wax carving process:
Step 1: Prep the workspace
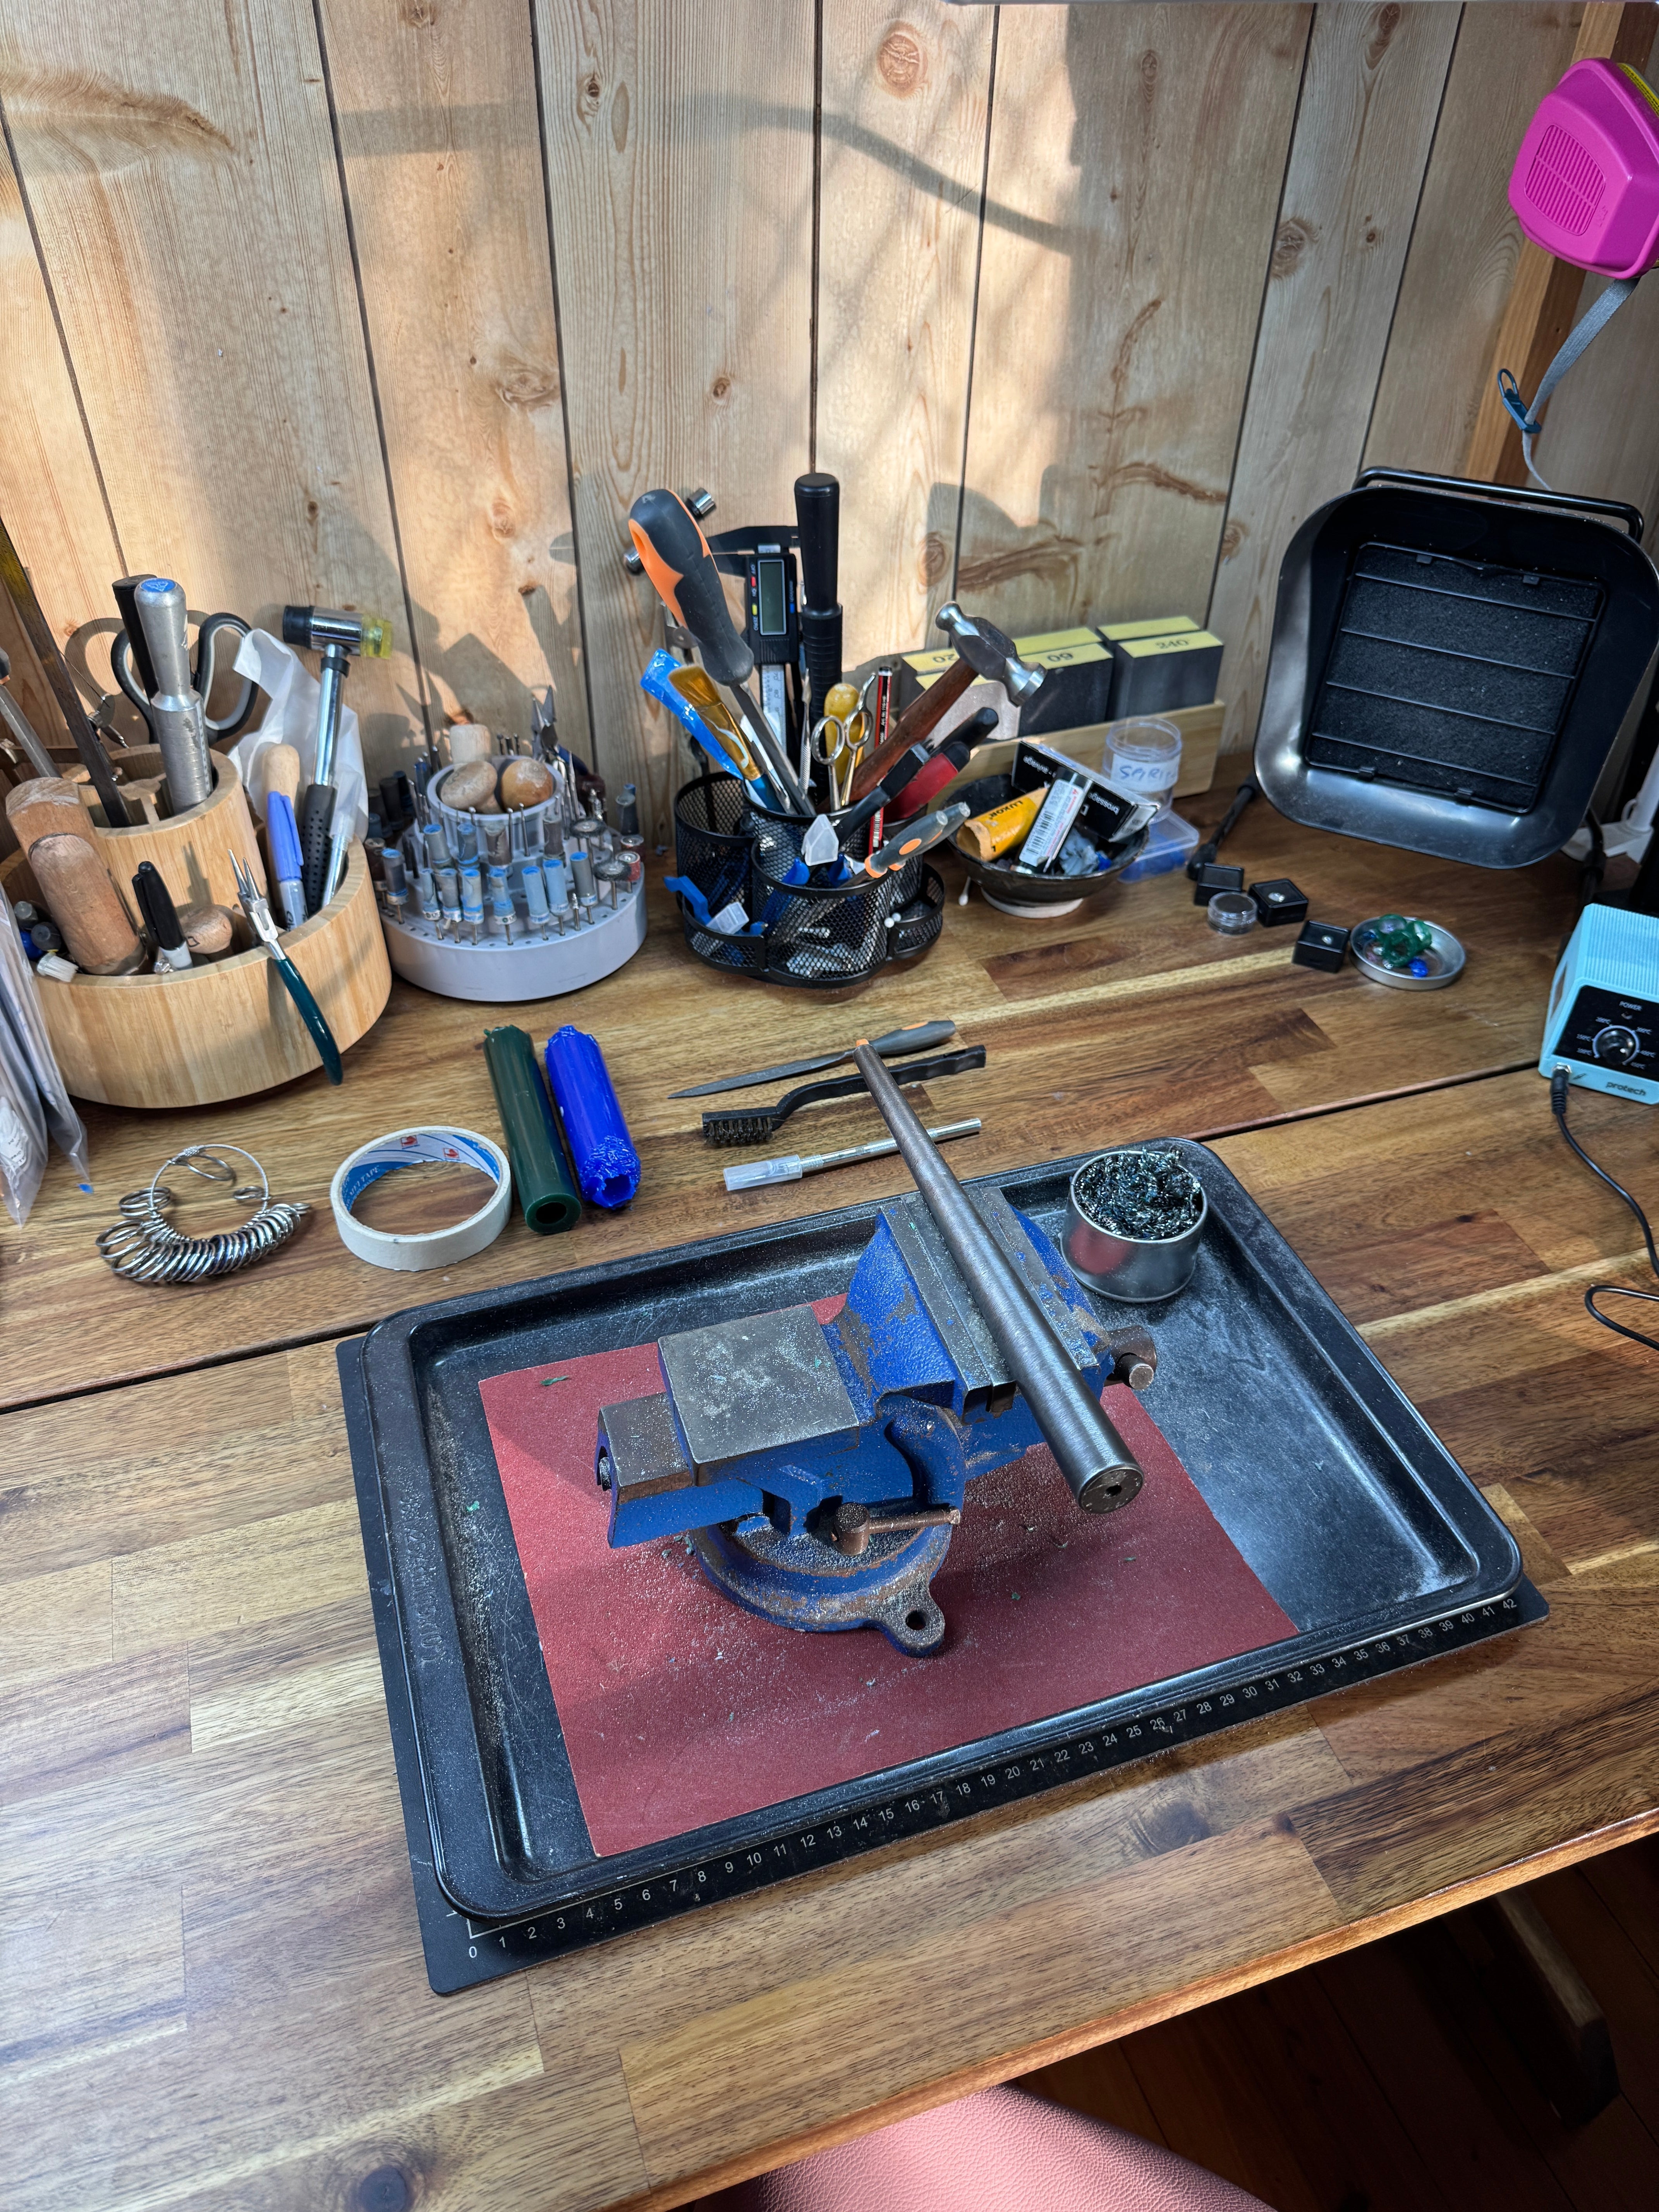
I set up my bench with space to work, windows open for airflow, face mask on, baking tray to catch wax droppings, cleaning pot ready to wipe my iron as I go, and all my files and knives lined up so everything is within reach. (You'll need a lot less tools & space than showed in this image if you're a beginner exploring wax carving.)
Step 2: Prepare the wax blank
I mark out the ring size with a marker before I begin adding wax to the mandrel. I usually mark a size up to account for shrinkage during the investment casting process.
Step 3: Apply, carve and sculpt
This is where the design comes to life. I build up the wax, carve textures, and sculpt until I am happy with the shape. This can feel messy at first, but that's what makes it so fun!

Step 4: Clean up the wax model
I file and shape the wax so it is ready to be cast.

Step 5: Send to casting
I carefully pack the wax model using bubble wrap or any packaging I’ve received and can reuse, then send it to my local casting house (I ship from QLD to VIC).

They use investment casting, which means:
-
They make a mould of my wax design
-
The original wax is melted away leaving a cavity
-
That cavity is filled with my chosen metal, usually 925 sterling silver
Step 6: Receive the raw casting
After about a week I receive my raw silver casting back in the mail.

Step 7: Finish the piece
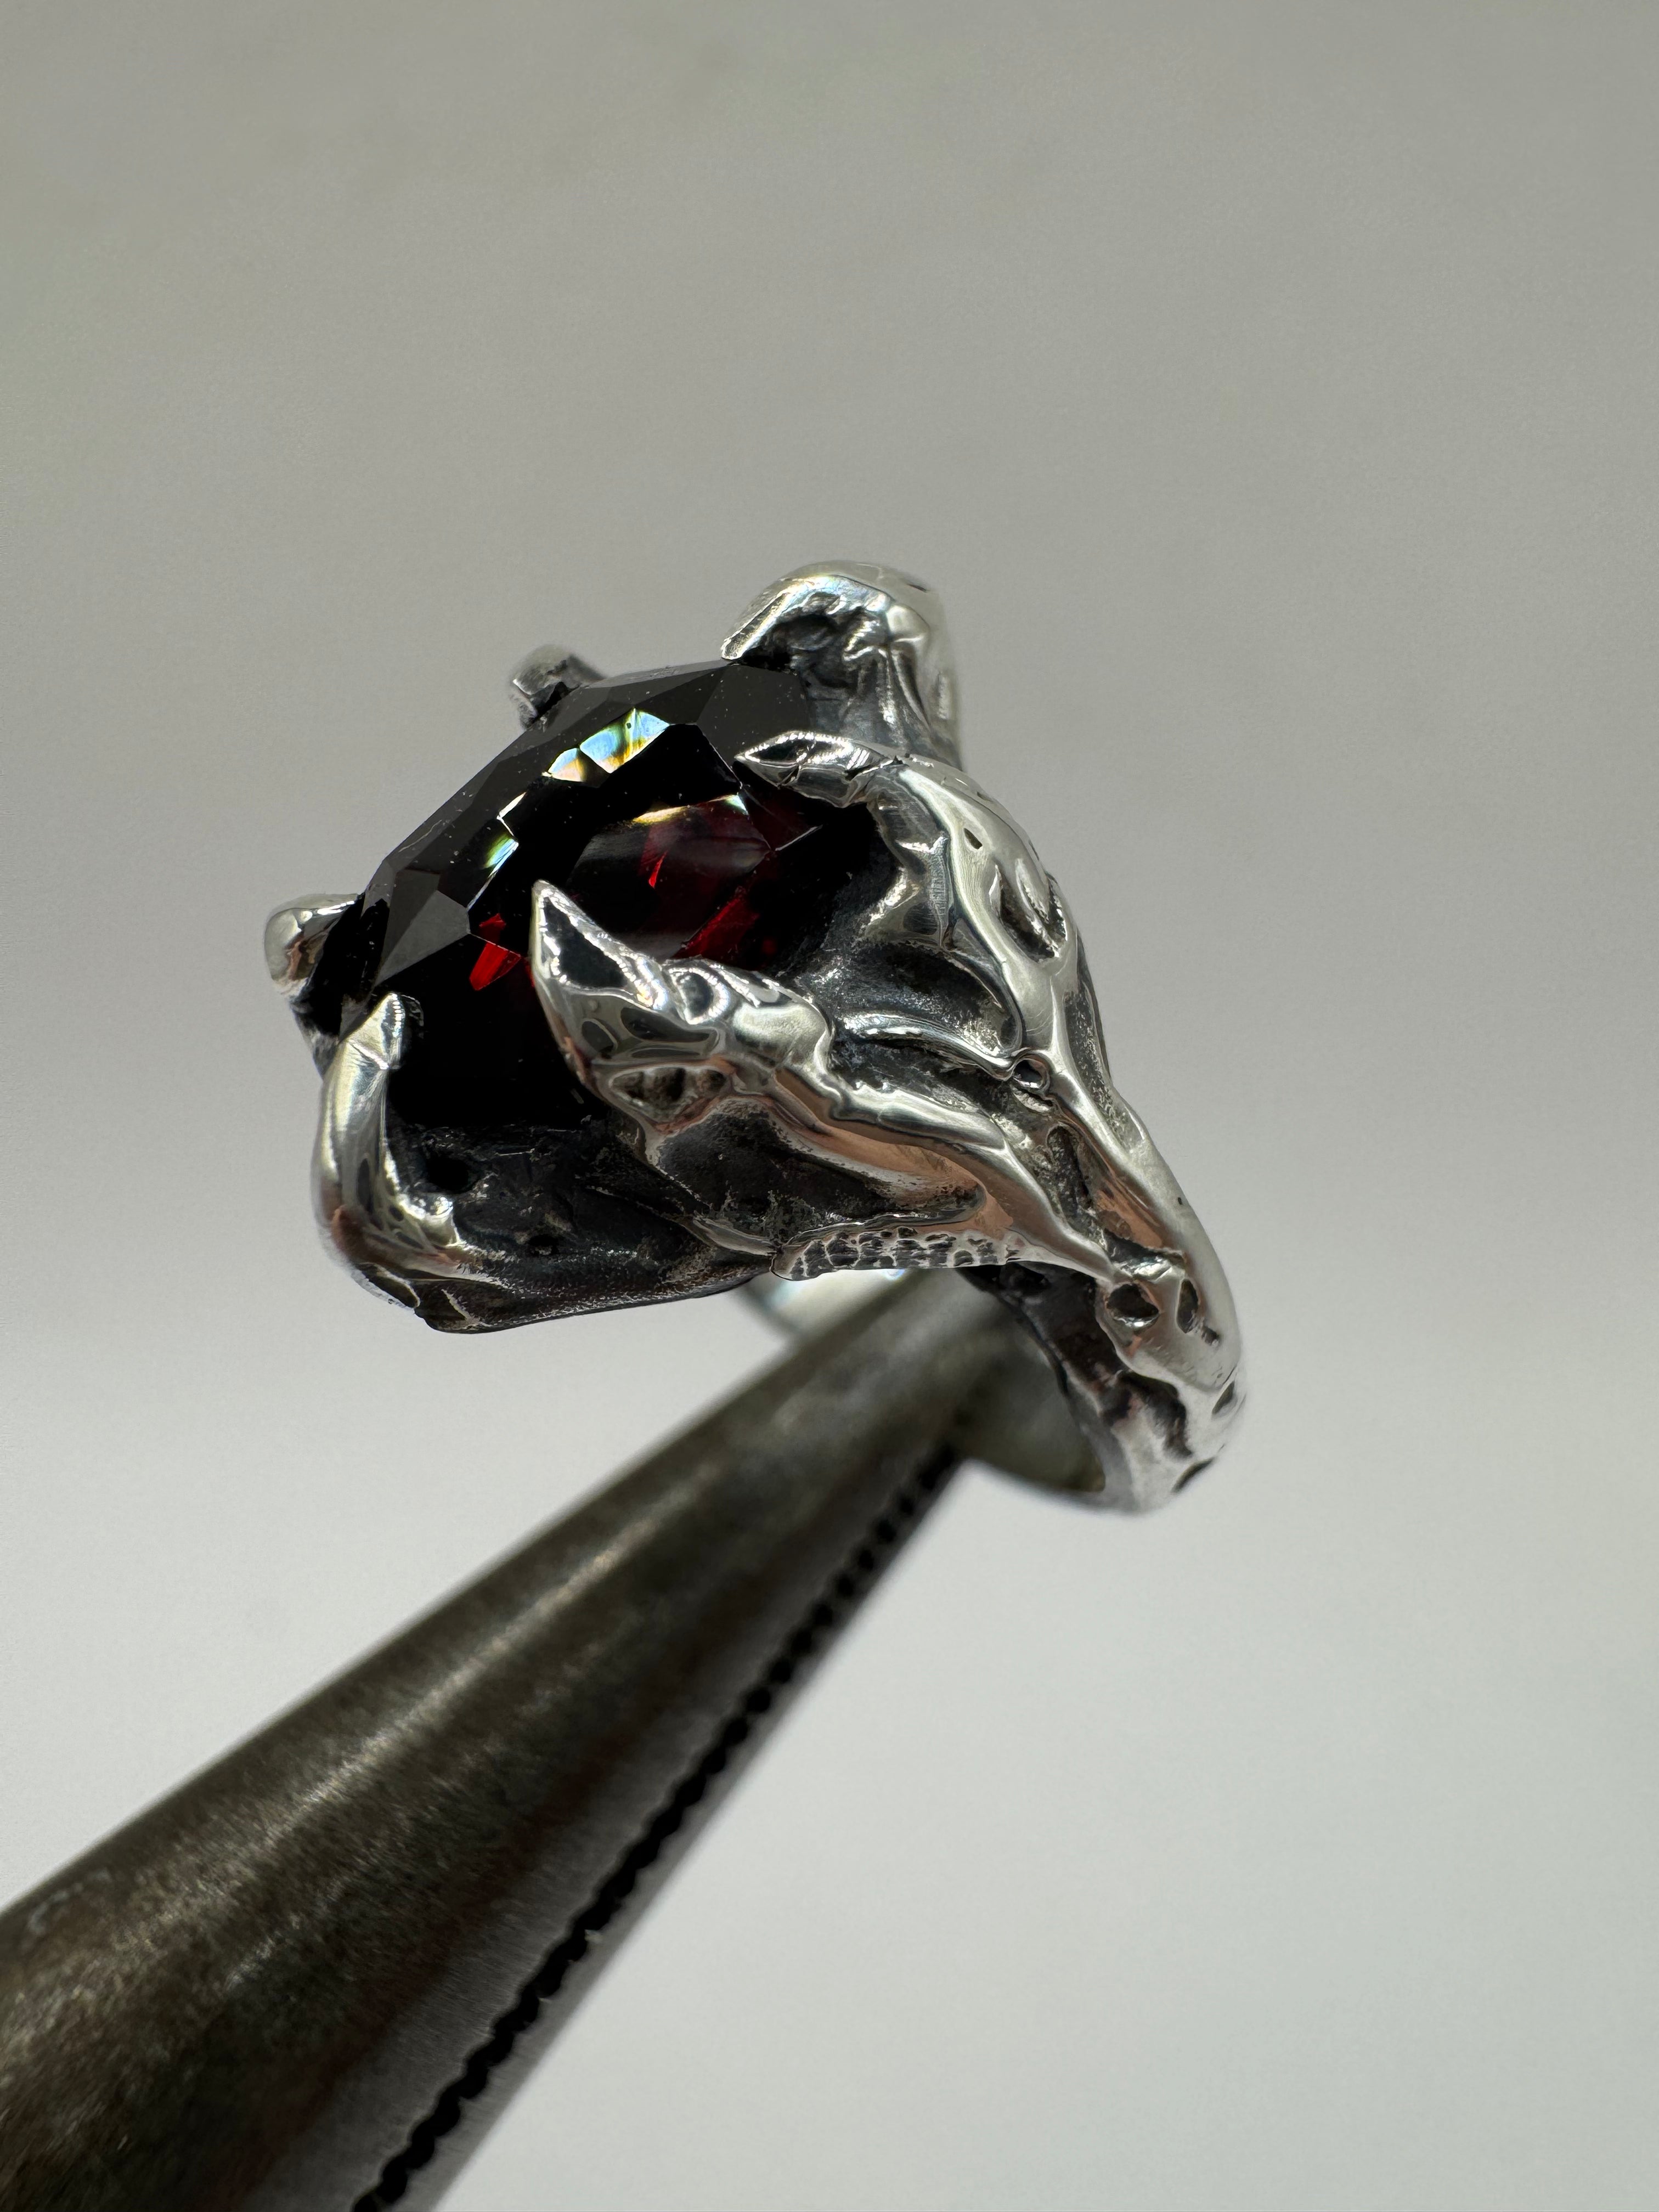
I remove sprues, sand, and polish the design until it is finished.

Outsourcing the metal pouring to local jewellery casting services makes this craft accessible for anyone, even if you do not have the space, time, or equipment to melt metal at home. It is such a blessing to be able to send my designs away and work alongside a casting house. It allows me, and anyone else, to bring ideas to life with nothing more than wax, some easy-to-use tools, and creativity.


Leave a comment
This site is protected by hCaptcha and the hCaptcha Privacy Policy and Terms of Service apply.